Complete Step By Step Guidelines to Paint Furniture
If
you wonder how to paint furniture,
we can give you the ultimate guide to renovating your cabinets or any antique
furniture piece in your home remodel Cleveland. You will learn what tools and
materials are needed, which type of paint works best, and how to protect your
furniture from getting scratched as you work on it. We also have a few tips to
help you paint furniture in the least amount of time and effort possible. So,
let’s have a look at some tips that will definitely help you know where to
start when it comes to painting furniture!
Step 1: Know what you are getting into
One
of the most excellent tips for painting furniture is knowing what you are
getting into. That sounds obvious, but it’s important. You should be realistic
about your limitations as a painter and only tackle projects that fit within
your skill set. Take some time to see if you can paint a piece before you
purchase it; get an idea of how difficult or easy it will be based on its
construction. If you aren’t confident in your abilities yet, stay away from
complicated projects and focus on more simple jobs until you gain experience.
Here are some other tips to consider:
·
Furniture can be expensive, so it might seem tempting to do
less prep work than would normally be required when painting a wall.
·
Resist that urge—the amount of time spent preparing will make
all the difference when it comes to achieving a high-quality result.
Step 2: Get ready for the process
When
you’re ready to start painting furniture, it helps to clear out
all unnecessary clutter. This will make it easier for you, especially when
spraying your paint—and it will also help keep curious children and pets out of
harm’s way. Make sure all nearby items are secured, so they don’t get in your
way while painting or get covered with paint. If you have large objects, move
them further away from where you’ll be working; set them on a table or other
surface that’s easy to clean. If necessary, tape off sections of the wall or
flooring where you don’t want the paint to go, and then remove anything else
that might need protecting once it has dried.
Step 3: Tools required to paint furniture
Acrylic
paint is generally best for painting furniture, as it is water-based and easy
to clean. Oil-based paints work well, too but should be avoided when working
with wood that may absorb oil. Use masking tape and plastic sheeting around
your workspace before you start painting to protect yourself from drips,
spills, splatters, and dust. Use newspaper or paper plates to hold excess
paint, which you can dispose of easily once it’s dried up. You don’t want any
part of your clothing touching any part of your furniture while you’re
painting, so make sure everything is covered up with old shirts or gloves—even
if only one hand will touch a particular piece at a time! You can also buy
inexpensive painters’ caps at most home improvement stores.
Step 4: Prepare your furniture
Another
thing you’ll want to do is offer your furniture a good cleaning. This will
remove any debris or oils that may be causing your paint to not adhere
properly. After you’ve cleaned your furniture, set it up on a clean sheet
outside and cover it with plastic. If you don’t want anyone walking through
your paint while it’s drying (it’s difficult to tell how thick things are when
they are wet), lay some old blankets around it so people can see where they can
walk without ruining anything. You could also put some painter tape down for
them if you aren’t worried about floors getting dirty; painter tape makes a
nice boundary between don’t step here! And go ahead! It doesn’t matter what
color you use, as long as it contrasts with whatever colors you are going to be
painting. You should have bought spray painting equipment earlier, but now is a
good time to figure out what size fan nozzle works best for your project.
Step 5: Paints and Brushes
Be
sure to clean your furniture before you start painting, and then you’ll need to
buy a few things. You’ll need paint (of course), brushes, sandpaper, and
possibly other tools. You’ll also want some protective gear like apron or old
clothes in case of drips or splatters—and maybe even a respirator if you are
going for really high-quality work. There are many different kinds of paints
out there depending on what surface you are working with, so do your research!
An important note: make sure that whatever finishes you use will be compatible
with any wood surface! This is very important because it can cause permanent
damage. For example, water-based varnishes should not be used on anything but
wood surfaces. While latex paints aren’t great on glass or metal, they can be
used on most woods as long as they dry completely first.
Follow The Steps & Avoid Mistakes
Painting
furniture is a serious home remodeling Cleveland project. You don’t want to mess
it up and end up having your new piece ruined by a bad paint job. So, follow
these tips and always remember that practice makes perfect.
·
Start with smaller pieces, like vases or candlesticks, and
get them done before you start working on more expensive items, such as antique
cabinets or grandfather clocks.
·
Keep in mind that when you use oil-based paints for wood
furniture, make sure you are wearing gloves and old clothes and have plenty of
rags on hand because stains from these kinds of paints can be difficult to
remove from skin or clothes!
·
Before starting off painting any type of wood surface, make
sure to sand it down completely. It might seem silly, but you wouldn’t believe
how many people miss spots because they don’t take the time to go over every
inch with sandpaper.
·
Depending on what kind of look you are trying to achieve with
your newly painted piece, there are different types of primers available at
local hardware stores, such as rust-resistant primer (for outdoor projects),
oil-based primer, and latex-based primer.
·
Make sure you pick one that will work best for your specific
situation. For example, if you choose an oil-based primer, know that it may
affect future coats of latex paint differently than if you had chosen a
water-based primer.
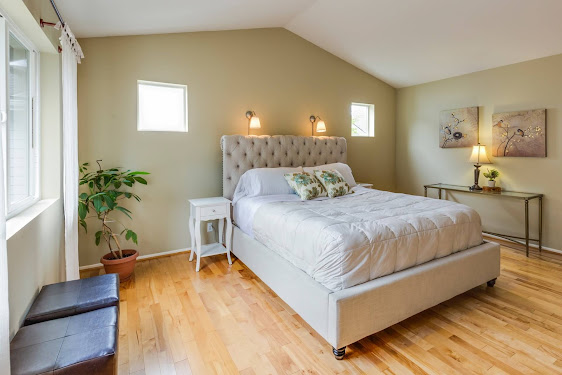
Painting
a piece of furniture may give it a new lease of life, and it’s an inexpensive
way to spruce up your home. Seek old furniture around your home or at yard
sales and antique shops, and then try it out for a fun weekend project by
following all the above steps!
Painting Furniture: Frequently Asked Questions
Why choose painting over wood stain?
Painting
furniture is a great way to add color and style to your home. Plus, painting is much easier than you might think; even an
amateur can paint furniture—as long as you use proper techniques and tools.
When comparing staining vs. painting your furniture, keep in mind that staining
can often produce a darker finish (since it stays within the wood grain) and tends
to have a deeper color, whereas paint can be lighter since it covers all of
your wood with a single coat.
What kind of paint should I use on furniture?
The
paint you use depends on what kind of furniture you’re painting. For example,
if you’re painting a metal bed frame with intricate metal details, you want to
select an oil-based paint; water-based paints will simply wash away in your
hands. However, if it’s made of wood, acrylics are fine for touch-ups and even
complete repaints.
What do I need to get started painting furniture?
If
you have a piece of furniture that you want to spruce up, it’s time to learn
how to paint furniture. The first thing you need is a piece of furniture that
will not break in half when you’re working on it. You will also need some sort
of protective covering for your work surface, and something to cover your floor
with – newspaper and plastic drop cloths work great. If you plan on painting
several pieces at once, we suggest investing in an inexpensive tarp as well.

Comments
Post a Comment